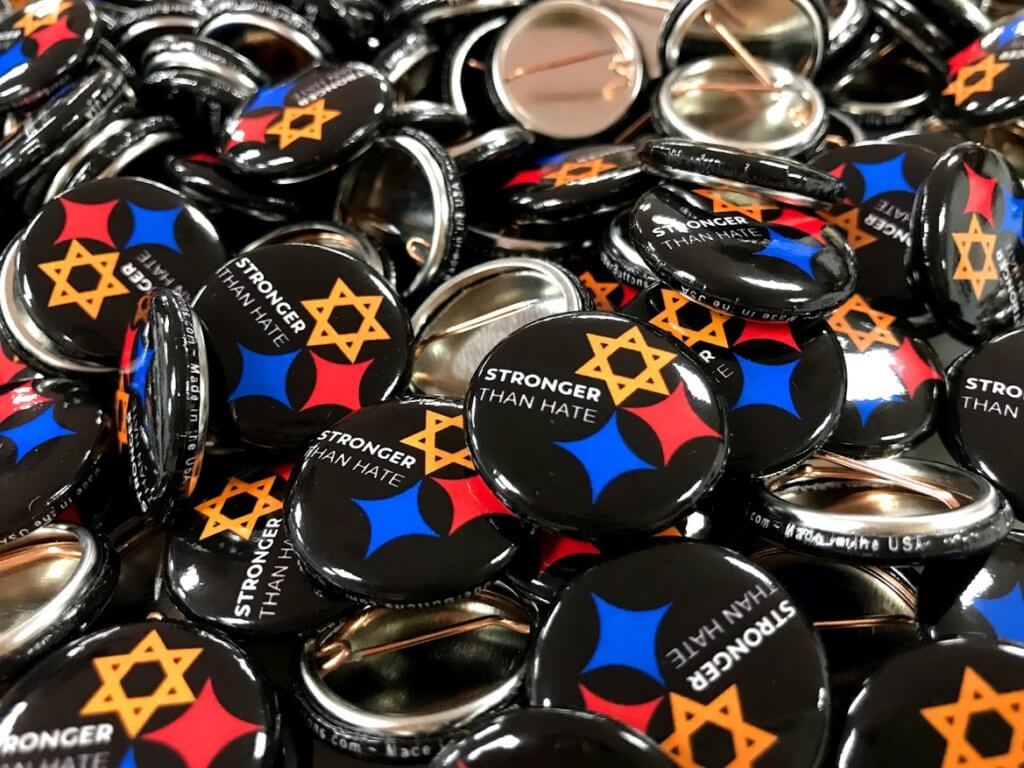
Making buttons is a fun and low-cost way to liven up your wardrobe or even market something you’re passionate about. Pinback buttons are making a fashion comeback in recent years and you can find them on just about any backpack, purse or jacket.
Below we show the step-by-step process that goes into creating buttons at our factory. We want to help familiarize you with this fascinating process.
Step 1: Choose Size and Upload Artwork

The first step in creating your button involves choosing the shape and size and quantity. Once that is taken care of, we ask that you upload your artwork to our site. At this stage of the process, you will be able to see the corresponding costs.
We accept file types, *.JPG, *.JPEG, *.GIF, *.PNG, *.PDF, *.TIF, *.TIFF, *.PSD, *.EPS, *.AI, *.SVG, *.DOC, *.DOCX, *.PPT, *.PPTX. You then upload your artwork for us to then perfectly center and place on the button. You can also skip this step and send in your artwork later. (We recommend this if you don’t have the artwork on you at a particular time and need to send it later – or if you want us to design the button for you!)
Step 2: Optimize Artwork for Button

Once we receive your artwork, we set to making sure it looks great on your template! We ensure your file size is large enough and of good quality. We situate the image onto the button template and send you a proof for approval. After carefully looking over the proof and making sure it looks amazing, you give us the “OK” and we will proceed!
Step 3: Print Artwork
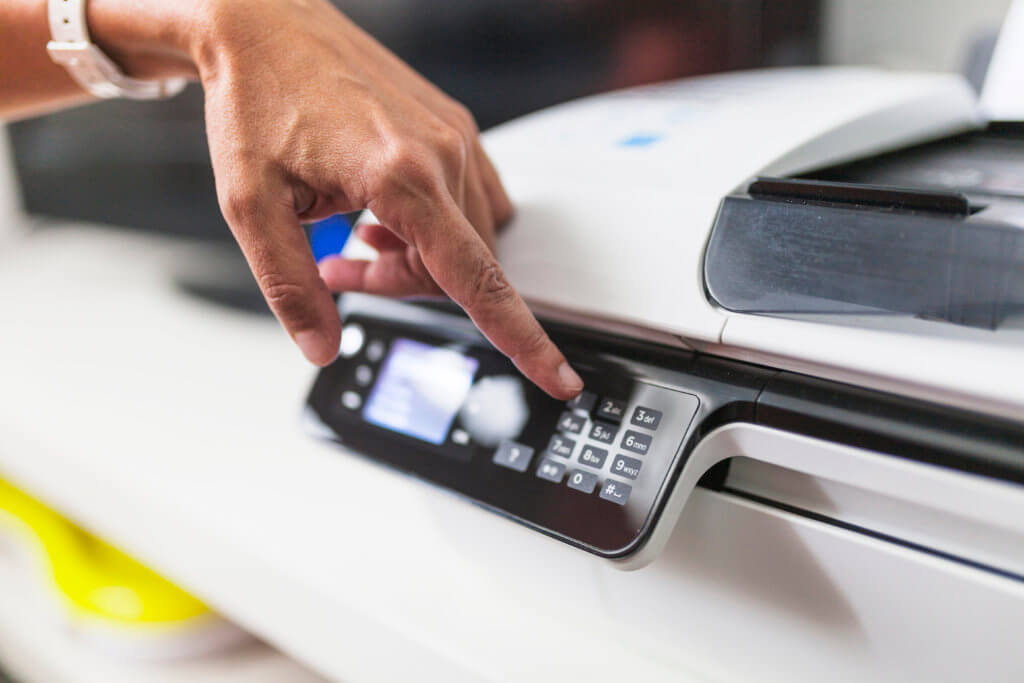
At this point in the process, we expertly align your artwork onto high-quality paper. We then print off a sheet of buttons and check them for any issues. Once we ensure that all is well we proceed to print as many sheets as needed.
Step 4: Transfer Artwork To Laminating Machine & Cut
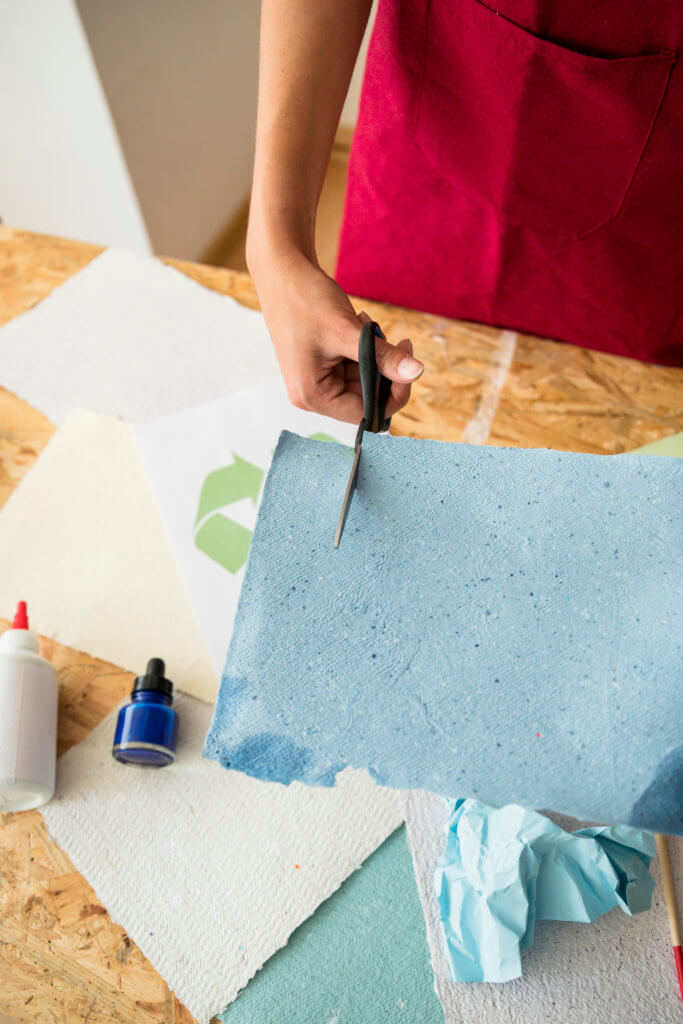
Next, we move your freshly printed buttons to our top-of-the-line laminating machine, where we allow the paper to be coated with a warm layer of plastic. This protects your button from the elements and gives it a shiny finish. After the artwork is laminated, we then cut it from the paper into the perfect shape for your buttons.
Step 6: Attach Artwork to Metal Buttons
This step of the process involves our button machine using pressure to attach your design to a metal button. This is the longest part of the process because it is done by hand.
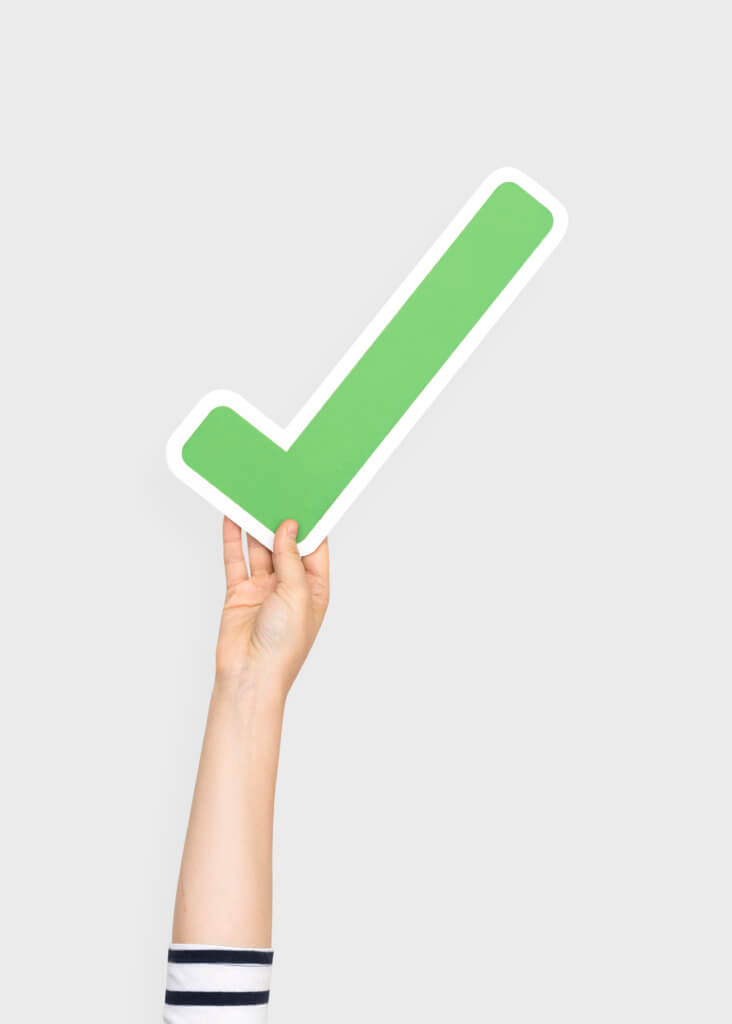
Step 7: Quality Control

After your buttons are created, we hand check each button to ensure that it is of the highest quality. If there are any buttons with air bubbles or with the art uncentered, we will fix them. Once each of the buttons is inspected, we move on to the next step.
Step 8: Sort
After your buttons are inspected, they are sorted into bags in groups of either 10 or 20 depending on the size of your order.
Step 9: Package & Ship
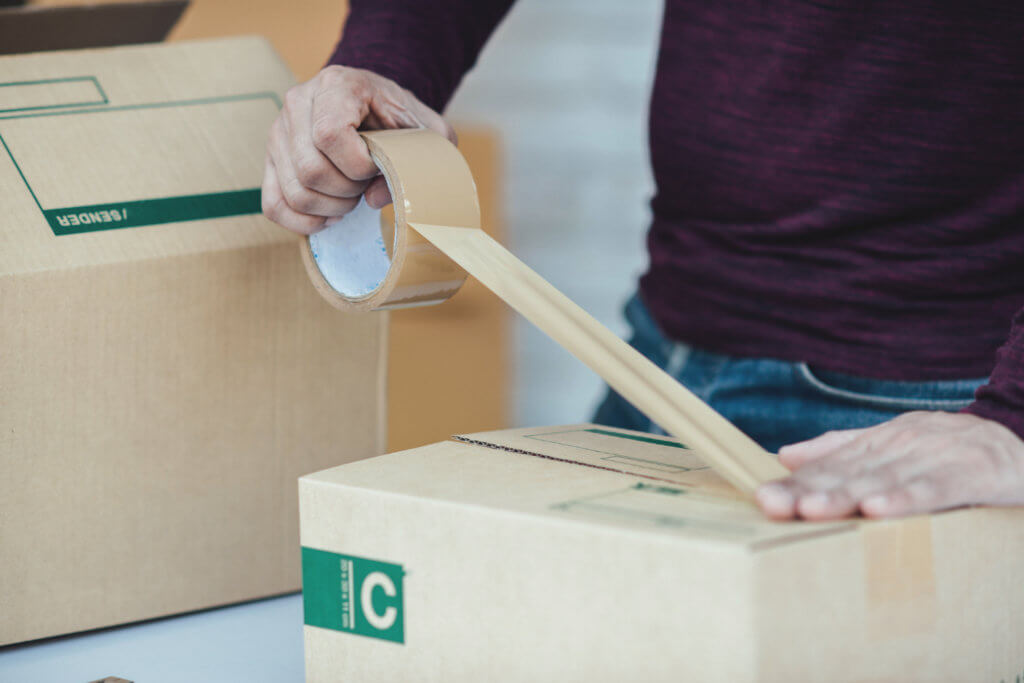
After the buttons are placed in bags, they are put into boxes and shipped out to you! Expect them at your door within 7-10 business days of approval.
Step 10: Enjoy Your Buttons & Share on Social Media
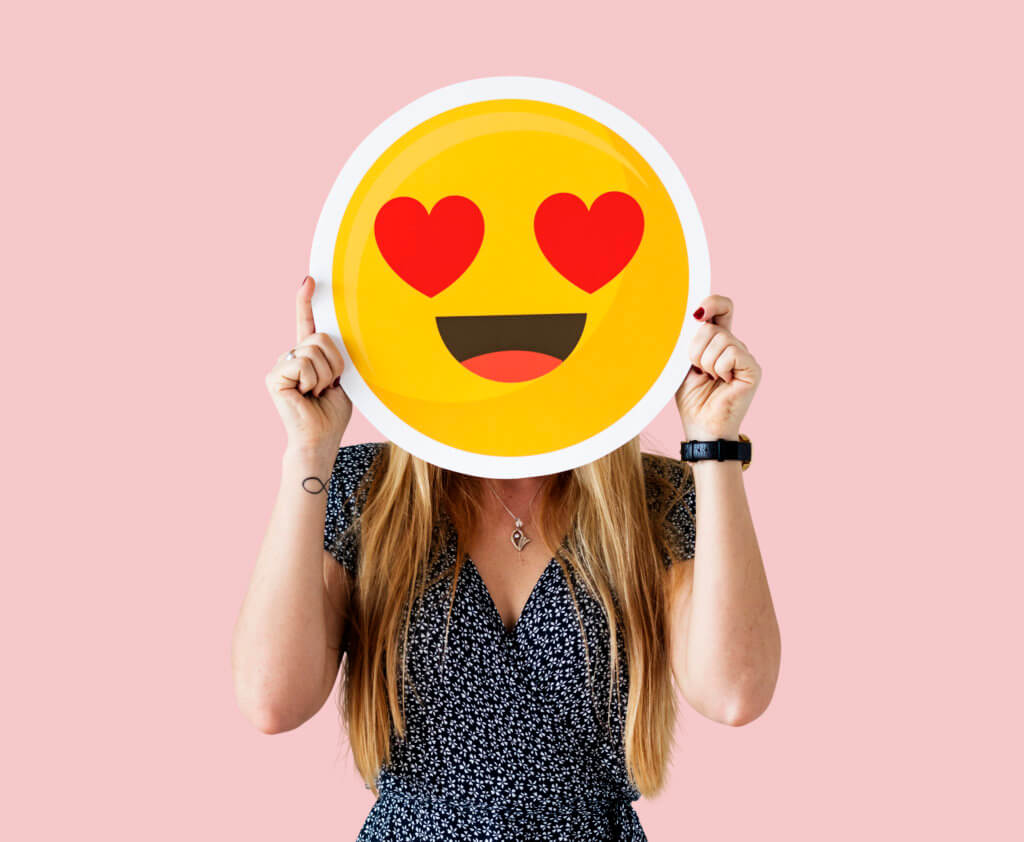
Once you receive your buttons, show us what you are doing with them by sharing photos of them on Facebook, Instagram, and Twitter! If you tag us, we will send you a special promo code.